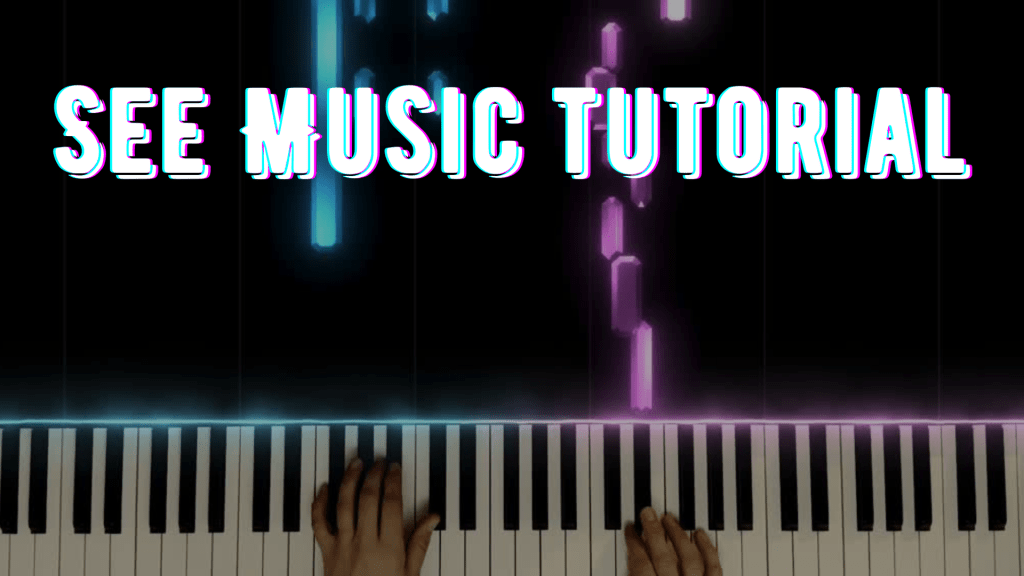
If you’ve ever wondered how to create those beautiful animated piano videos you see on YouTube—where colorful notes flow in real-time with the music—you’re not alone. I wanted to give my students and audience something more engaging than a static score or sheet music, so I started exploring SeeMusic, and I’ve been hooked ever since.
In this tutorial, I walk you through the entire process of creating a piano visualizer video using SeeMusic. Whether you’re a music educator, content creator, or just a musician looking to showcase your playing in a polished way, this tool is an amazing option.
Here’s what you’ll learn in the video:
- How to record right in the See Music app
- How to customize colors, particle effects, and keyboard layout
- How to sync your visualizer with your performance
- Tips for rendering a smooth and professional-looking video
- Ideas for adding intro/outro text or branding
Why Use SeeMusic?
This tool has made it so easy to create professional visuals that help students see what they’re hearing. It’s especially great for:
- YouTube tutorials
- Play-alongs for students
- Online music lessons
- Practicing with a visual guide
- Promoting your own compositions
Whether you’re a teacher looking to level up your resources or a performer building your online presence, SeeMusic is a game-changer.
Watch the full tutorial here: Lessons With Shana – See Music Tutorial
And don’t forget to subscribe to my channel if you want more content like this!


Leave a comment